This is the Ultimate Guide to Creating a Blog and how to Transfer Hosting from Godaddy to Bluehost (WordPress)
The goal of this blog post is to get you up and running with a fully functional blog in 15 minutes or less, and if you are looking to transfer hosting from Godaddy to Bluehost, it will help you with that too!
Are you tired of having to read 20 blogs and watching several Youtube videos to figure out how to do ONE thing? Something as basic as migrating blog hosts perhaps? It took me an entire weekend to move WordPress site from Godaddy to Bluehost. After reading one fragmented and outdated blog post after another, and having to piece them together, I am pleased to provide this comprehensive move WordPress site from Godaddy to Bluehost guide! Also included: how to create a new blog on Bluehost.
This posts contains some affiliate links, which means that I make a small commission off all items you purchase at no additional cost to you.

Why Transfer from Godaddy to Bluehost?
Recently, I moved WordPress site from Godaddy to Bluehost Web Hosting. The main reason for doing this was that I had intermittent problems with the FTP server. It kept disconnecting and refused to reconnect, causing downtime and many hours of lost productivity. To make things even worse, this happened while I was upgrading my site, consequently breaking it and rendering it unusable.
I called support, and after waiting on hold for over half an hour, and spending an hour on the phone, Godaddy support was not able to help me. They blamed “firewall” issues, even though I was able to connect to their test FTP server. Running out of options, I tried to restore my website from the previous day’s backup, but that seemed to do nothing.
When I asked the tech why the back up restore did not work, he said he wasn’t sure and that it should have. Considering this Godaddy Managed WordPress plan was supposed to take care of back ups for me, and they did not restore, it didn’t leave me feeling warm and fuzzy.
Several hours later…
Eventually, I was able to reconnect to my server hours later, but had the same problem again the next day with not being able to connect. Needless to say, I was not thrilled with this lack of service on Godaddy’s part, so I decided to move WordPress site from Godaddy to Bluehost. I have heard great things about Bluehost, especially for blog hosting, AND it is cheaper than Godaddy, so I decided to give it a try. I wasn’t keen on having to transfer servers, despite the fact that I am in IT and have done this many times. It can be a pain! That is why I wrote this guide on how to move WordPress site from Godaddy to Bluehost. You should be able to get your site back up and running even faster.
How to Move WordPress Site from Godaddy to Bluehost:
- Create a Bluehost Account
- Update Domain records
- Download old website/blog files
- Export old Database
- Upload website/blog files
- Add domain name to Bluehost
- Import Database to Bluehost
- Update wp-config.php
- Get a refund from Godaddy
First, we are going to sign up for a Bluehost web hosting plan.
Creating a Bluehost Account
-
- Go to the Bluehost website and click the green “get started now” button.
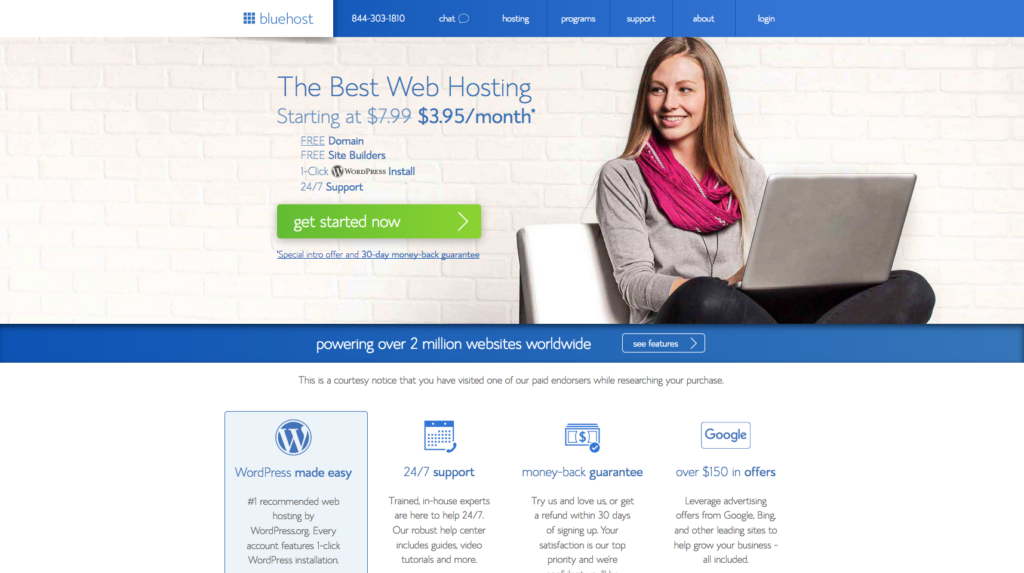
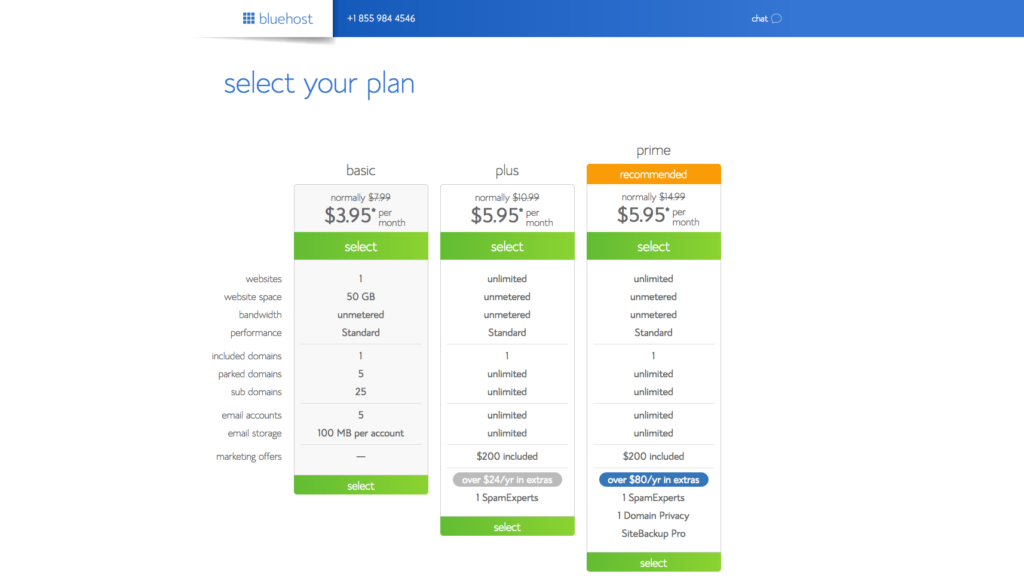
- Select the option that fits your needs. Since Prime costs the same as Plus, and I’m going to move WordPress site from Godaddy to Bluehost and have more than one website, I selected the Prime option. To receive the cheapest price to start a blog, the “Basic” plan is all you need. It’s only $2.65 per month through my link (due in full) if you sign up for 36 months, which is great, and cheaper than Godaddy. If you sign up for a 24 month plan, then the price is $3.95 per month. If you sign up for a 12 month plan, then the price is $4.95 per month. Signing up for 12 months or more, gets you a free domain name. On this page, hesitate a few moments and you will see a special offer pop-up for the 2.65/month. Click “CLAIM OFFER” to get this great deal!
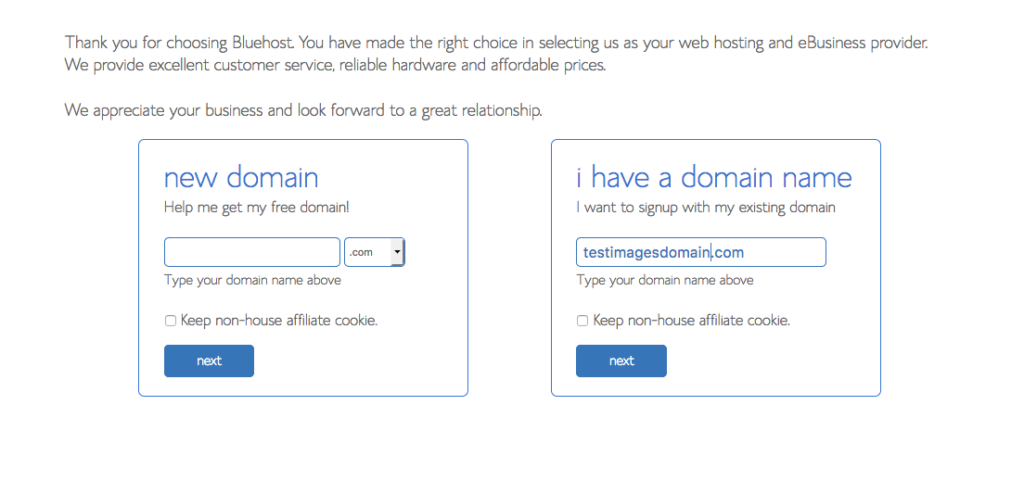
- If you don’t have a domain name, type one into the box on the left. If you have one, type it on the right.
- Create your account. Enter your information or choose to sign in with Google.
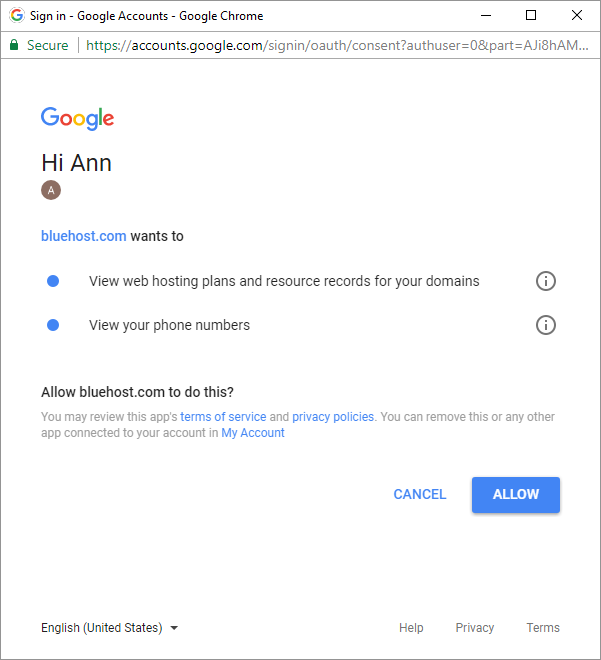
- If linking to Google, sign into your account and select “ALLOW”.
- Validate your account information. Then, select the package information and addons that you want. Enter your payment information.
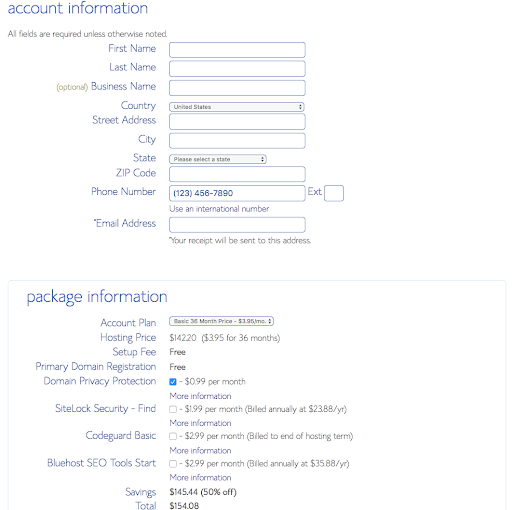
- Press the submit button only once.
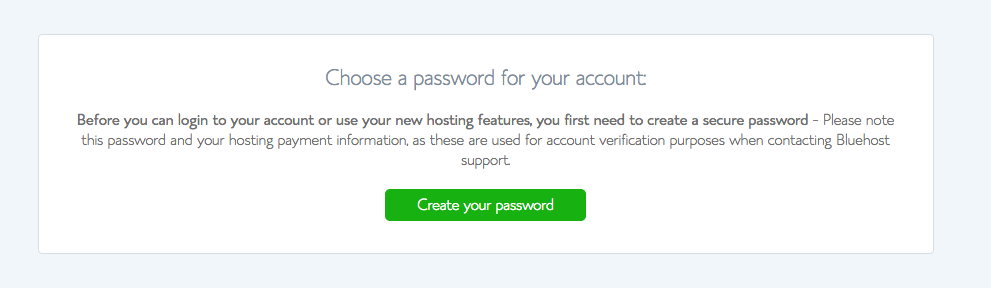
- The next screen will be an order confirmation. There you will click the green button to create a password.
- Create your password. Make it a strong password. I use Lastpass to generate passwords for me. Click next, and then login with your new password.
- Pick a theme. You can change this later.

- Go to the Bluehost website and click the green “get started now” button.
- After you choose a theme, you will a screen that says “Welcome to WordPress”!
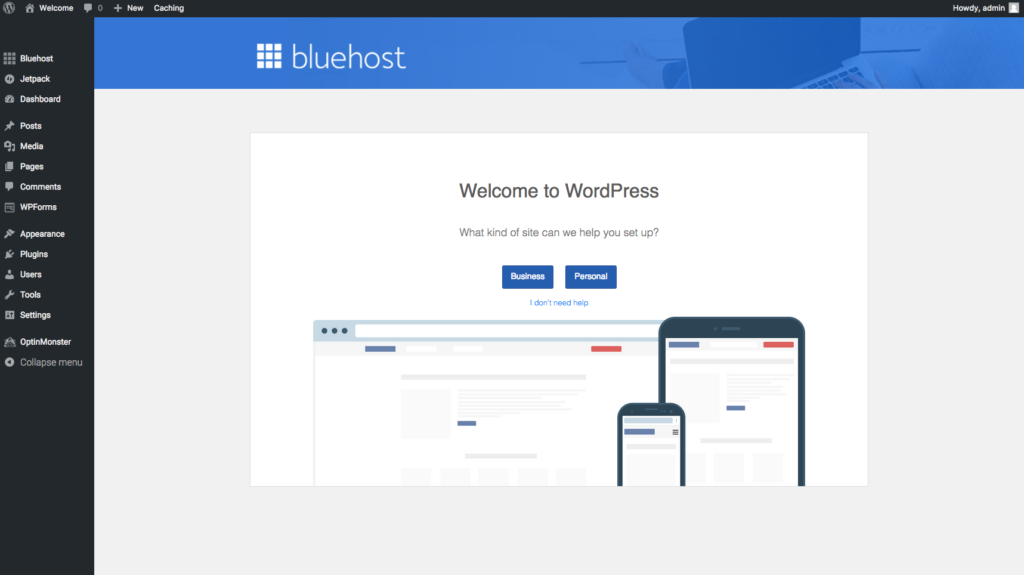
- You can start setting up your site right away!
Updating your Domain records
-
- Since this is a transfer, select “Go to my Bluehost account.” On the left, you will see a link called “Domains”. Click that, and then in the main window, you should see your domain name with a checkbox next to it. Click the checkbox. On the right, there will be a DNS zone editor. Click “name server” tab.

- Copy and paste the first nameserver to your clipboard.
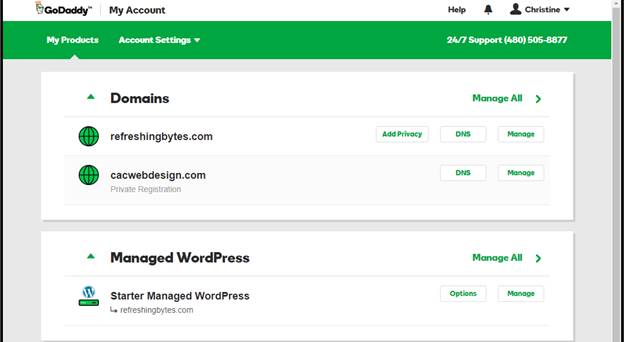
- Login to Godaddy. On your “My Products” page, select “DNS” for the domain you want to host at Bluehost.
- Scroll down to “Nameservers” and click the “Change” button.
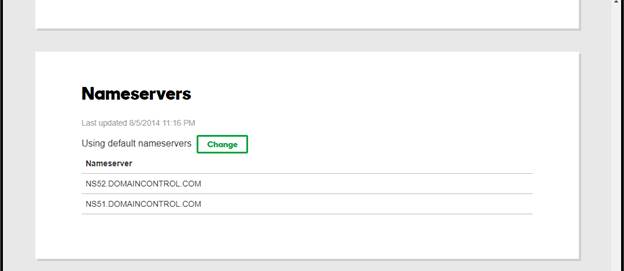
- Click “Custom” and enter the Bluehost Nameservers.
- ns1.bluehost.com
- ns2.bluehost.com
- Since this is a transfer, select “Go to my Bluehost account.” On the left, you will see a link called “Domains”. Click that, and then in the main window, you should see your domain name with a checkbox next to it. Click the checkbox. On the right, there will be a DNS zone editor. Click “name server” tab.
- Click “Save”. DNS takes 24-48 hours to propagate, so it will take at least this long for your new domain to start working. In the meantime…
Download your old website/blog files from Godaddy Managed WordPress
-
- Login to Godaddy. Select My Hosting.
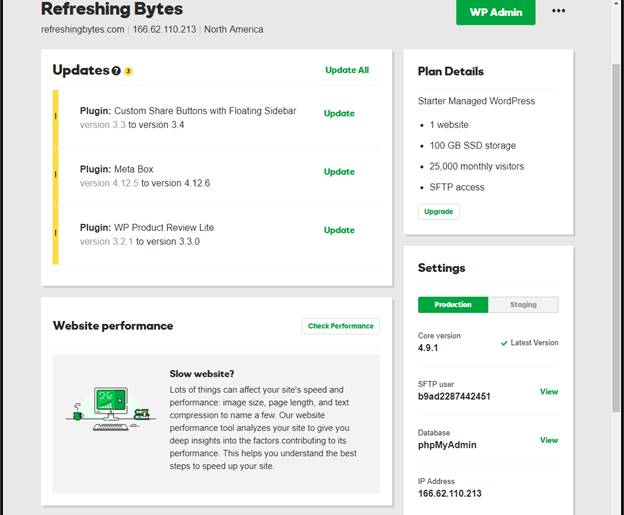
- Under “Managed WordPress” you will see “Starter managed WordPress”. Click the “Manage” button to the right.
- On the right, there is a “settings” box with your production settings in it. Click “VIEW” next to SFTP user.
- Copy and paste all of this information into a new Filezilla connection, including your password. Select SFTP, port 22.
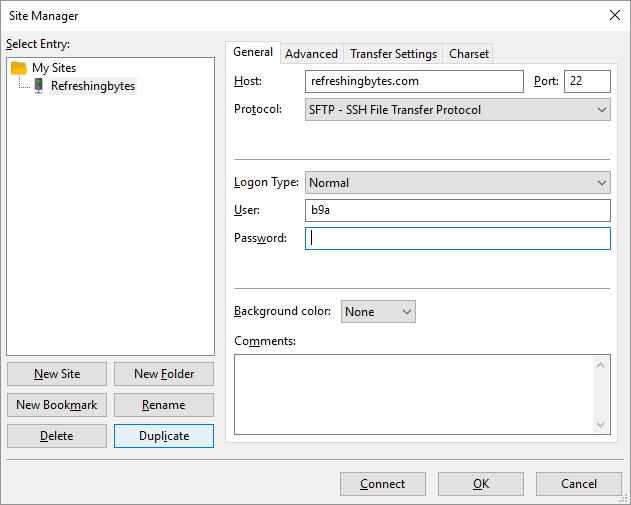
- Connect to your SFTP server. Create a new directory on your drive and drag all of the files and folders from the server connection (on the right) to your drive (to the left) to download them. This will take a while depending on how many files you have. This is an important step to move WordPress site from Godaddy to Bluehost.
Export your old Database from Godaddy Managed WordPress
-
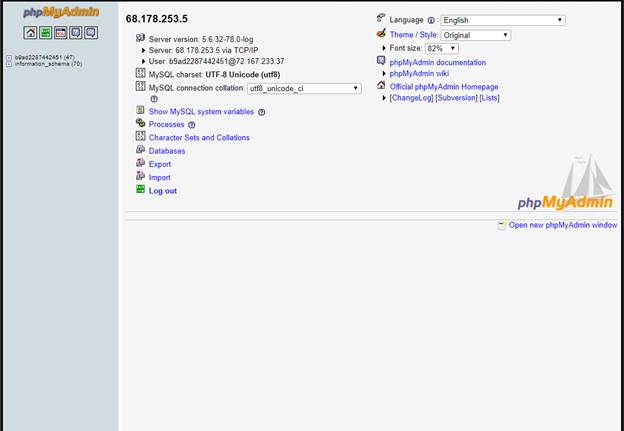
- In the meantime, go back to the Godaddy hosting panel. Click the “VIEW” link next to Database: phpMyAdmin. Toggle password and copy this to your clipboard. Save the username somewhere. Click the phpMyAdmin URL to go to your database.
- On the phpMyAdmin page, put in your credentials and click “GO”
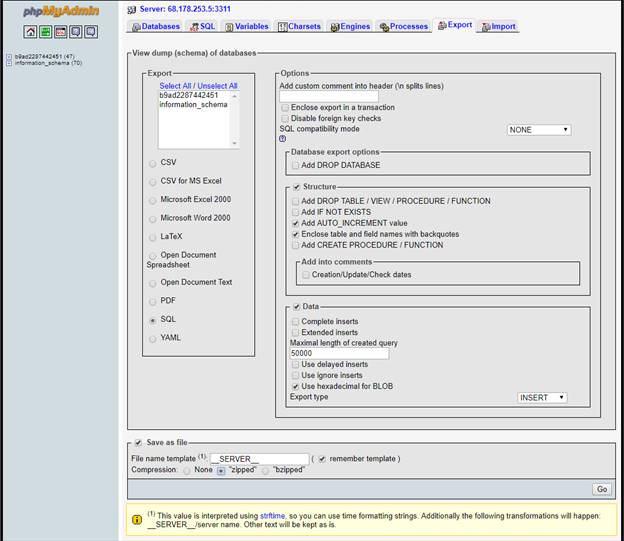
- Click the database name of the WordPress database (NOT information_schema). Then choose “Export”.
- Under Export, click “Select all” and keep the SQL button checked.
- Click “Save as file” and do not choose any compression.
- Click GO. Save the file to your drive.
- Remember the location for this file.
Upload website/blog files
-
- Go back to your Bluehost control panel. Go to Advanced > FTP Accounts
- Find the main FTP account. Click “Configure FTP Client”
- Download the SFTP Configuration file.
- Open Filezilla and click “File>Import”
- Connect to the Bluehost server and upload all of your files to the directory specified in cPanel (usually public_html/yourwebsitename)
- Again this is going to take a while!
Add your domain name to Bluehost
-
- Login to Bluehost.
- On the left, click Domains, click “Assign”
- Click “use a domain that is not already associated with your account”
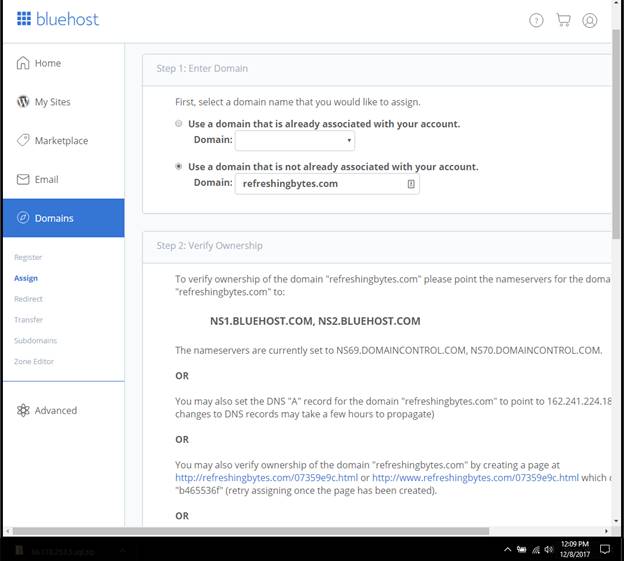
- Since I’m not done downloading files, I am going to choose to verify ownership by creating a page. Open Notepad and paste the text into it. Save the file with the filename they request on this page. Upload it to the root of your server. Refresh the page.
- Select “Addon Domain”
- Create a new directory.
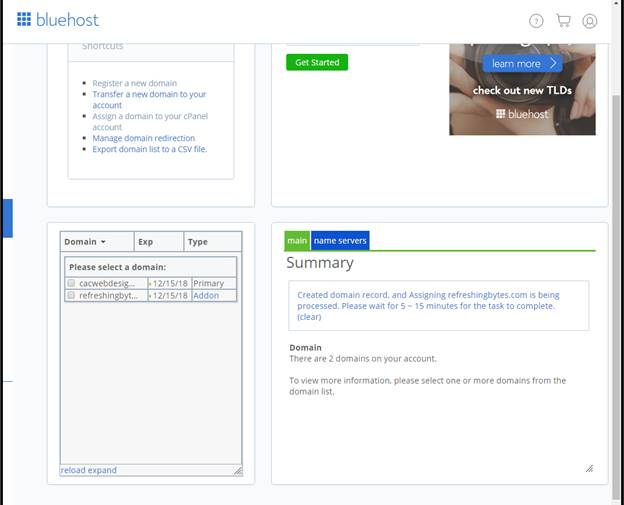
- Click “Assign this domain”
- After a few minutes you will see this message. “Created domain record”.
Import Database to Bluehost
-
- In the Bluehost panel, create a new database under Advanced>Databases.
- Name it the same as your Godaddy database. Bluehost will add a prefix. Make note of this, as we will need it later. Click “Create database”
- After that finishes scroll down to “Add a new user”. Create a username that is the same as the database name. If it’s too long don’t worry, just accept the truncated username.
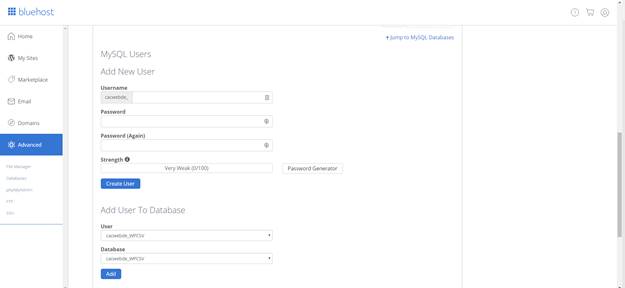
- Generate a secure password with uppercase letters, numbers, and special characters, and remember what it is. I use Lastpass. Or, you can use the same password as Godaddy. Click Create User.
- This next step is very important. This is where Bluehost support failed me! After we create a user we need to add it to the new database “Add User to Database”. Give it ALL permissions and submit.

- Go back into myPHPAdmin panel and import your old database into the new one you just created. Click the new database on the left and then click “Import”. Click Go.
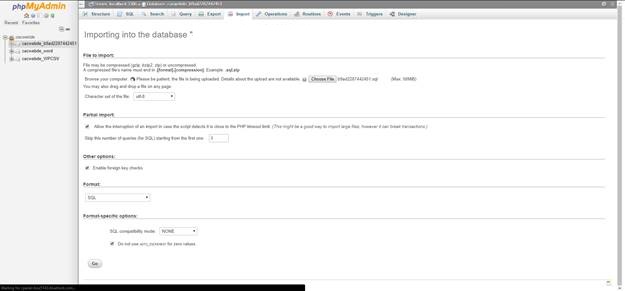
- You should not receive any errors.
Update wp-config.php file with new database, user, password, and database prefix
- Open your wp-config.php file in the correct directory for your website. Change the information to match the database and user name/passwords. Make sure to correct the database prefix to the proper prefix you noted earlier. Instructions to do this are here.
How to get a refund from Godaddy Managed WordPress?
- I spent more time on the phone trying to get a refund from Godaddy on the 10 months of Managed WordPress I paid for and did not need after move WordPress site from Godaddy to Bluehost. This was a waste of time. They refused to offer me a refund and warned me that their supervisor would say the same thing. He also refused. I told him I was going to move my domains to another company, and he said he was sorry to hear that. There was no one else to escalate to. Now that’s high quality customer service!
- I realized I paid for a year of hosting through Paypal, so I filed a dispute with them in hopes of getting a refund from Godaddy. In the claim, I said I had technical issues with the product and filed a detailed report of the technical issues. The next day, I was surprised to see that this actually worked, and I got a FULL refund, not just a partial one. Hopefully this will work for you.
If you liked this guide on how to move WordPress site from Godaddy to Bluehost, let me know below! Sign up for Bluehost here and get a discount!
Fantastic post. I like how detailed it is. Thank for writing it.
Great information ! My brother had to teach me how to set up a website because I’m not tech savvy..I’m using word press but I hear a lot of good things about Blue host. I need to continue to educate myself about all the nuances in technology.
Very useful tips for anyone looking to get blog hosting. Thank you for this.
Just wanted to say thank you very much for the thorough walkthrough. It took me longer than expected but I really appreciate the effort you put into writing this up.
Thanks!
I’m glad to hear it was helpful and that you got it figured out! 🙂
Hi there! Overall this has been a fantastic breakdown and super helpful! My only issue with it, was that the Upload Files To Bluehost wasn’t very specific, and so it ended up with me not being able to upload my files (then my dog hit my hand and accidentally deleted my successful transfers, so unsure of where they were saved, I downloaded them again)
I called Bluehost and they told me to put in their server information under a new site on Site Manager, and go from there. If you any other advice I’d gratefully appreciate it!
Thanks so much for taking the time to do this!
Hi Tisha! Thank you for the feedback! Oh no! I have had similar problems when my baby hits random keys on the keyboard, ha!
I put my site contents (from Godaddy) in public_html folder on Bluehost. This gets tricky when trying to write a “one size fits all” guide, as it depends on each person’s unique situation and site structure. But at the time when I did the transfer, Bluehost said to put my site contents in public_html. Hopefully this works for you!
Thank you very much. I have programmed things a long time, but never moved my WordPress site. Your step-by-step approach did not miss the details which is of great value.
I did have one stumble though. I changed over my nameservers. I was not able to finish downloading my files from Godaddy before the nameservers switched. Then I got failed connection errors in Filezilla. I had to go back to Godaddy and return the nameservers to their default (away from custom). Then I was able to get the downloads finished.
Hi Lane! Thank you so much for the feedback! I am so happy to have helped you, and I’m glad you managed to get your files from Godaddy! 🙂
Nice steps, will follow it to move my hosting soon !!!